BuildWise
Continuous Testing Server with Functional UI test execution in parallel
All Platforms
Set up build project
A project in BuildWise wraps configurations settings for running tests. You can have more than one build project for the same project source, such as ClinicWise Regression - Test, WhenWise Quick, and WhenWise Regression - Staging.
Demo projects
After first login, you are ready to create your first build project.
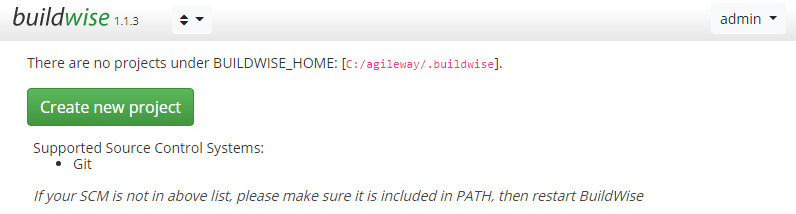
Click “Create new project” button, a new project form is displayed. Even there are just six text fields and one dropdown, it might be still quite overwhelming to new-to-continous-testing user. That’s why BuildWise comes with some demo projects, we recommend you starting with one first.
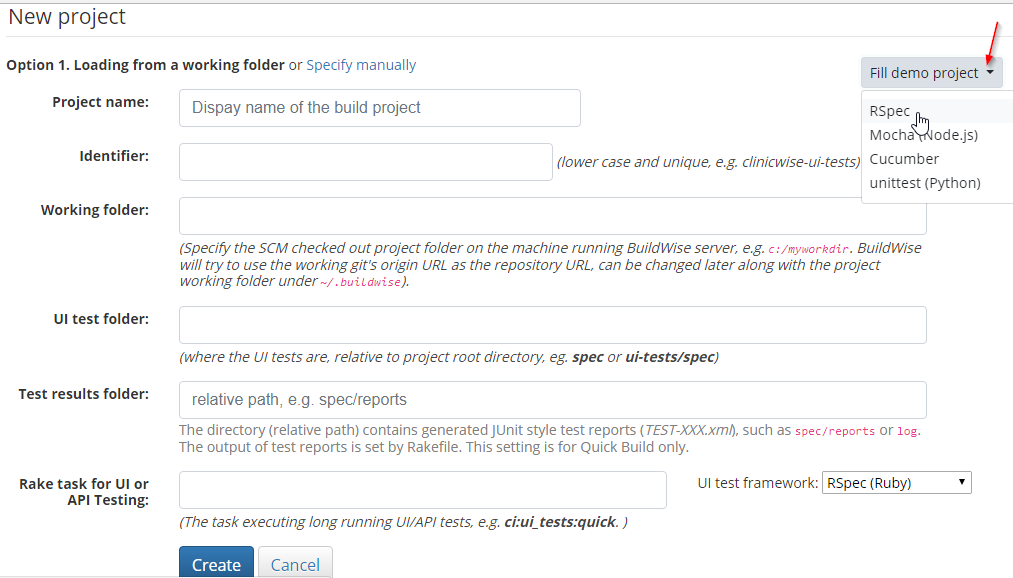
The demo projects assume you a demo project checked out to C:/work/buildwise-samples from https://github.com/testwisely/buildwise-samples. There are several test frameworks: RSpec, Cucumber, Mocha (JavaScript) and PyTest (Python).
Select “RSpec”, you will see project settings are filled. Try to understand as much you can, don’t worry if you don’t, as we will explain these setting in detail in next section.
Click “Create” button, you will see a new project shown on the BuildWise home page.
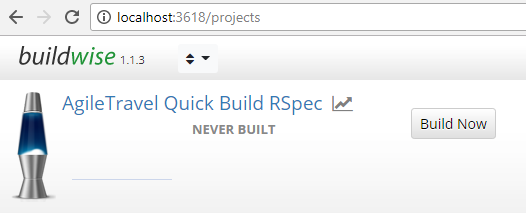
Feel free to click “Build Now” button and start your first build, you will see automated tests to be executed in Chrome browser in a few seconds.
Create project
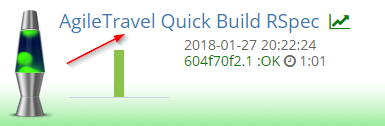
If you a green lamp on BuildWise home page, Congratulations on your first green (i.e. succesful) build. Feel free to click the links there. Clicking the project name to show the project setting. There are more setting options, agains, try to understand and skip ones you don’t get yet.
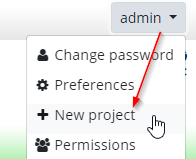
Now back to our task: creating your own project. Click ‘Admin’ dropdown and select ‘New project’.
-
Project Name
-
Project Identifier
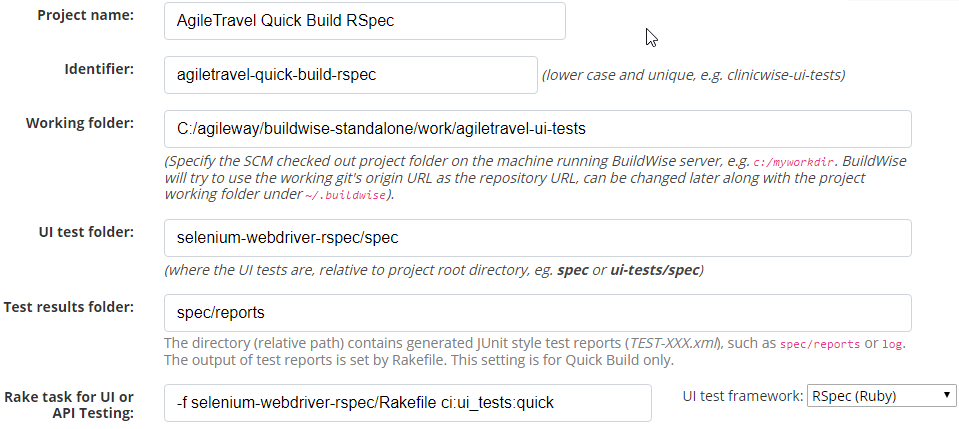
The unique identifier in a format of ‘whenwise-full-regression’. BuildWise will try to auto generate one based on entered project name, feel free to edit.
-
Working folder
The full path (on the BuildWise server machine) of the project directory checked out from Git. If you haven’t got it, do it now. For example, the following command checks out a Git repository to
c:/work/buildwise-samples.cd c:\work git clone https://github.com/testwisely/buildwise-samples.git
-
UI test folder
The relative path of the UI test folder contains test script files. For example, There are several folders under
c:/work/agiletravel-ui-tests, the rspec tests are underc:/work/agiletravel-ui-tests/selenium-webdriver-rspec/spec, so type in “selenium-webdriver-rspec/spec”. -
Test results folder
Virtually all test frameworks support generating test results in JUnit Xml report (this trace back to original JUnit test framework). If not sure, do some research on “run test with JUnit xml report” for your chosen test framework, or simply clone the project structure as
agiletravel-ui-tests. -
Rake task for UI/API testing
This is the main task that invoke test execution. To maximum the flexibility, BuildWise invokes a build target in Rakefile, which is build configuration file for Ruby’s build language Rake. If you not familiar with Rake, just copy the one from
buildwise-samplesfor now and use the settings used in Demo project. We will explain this in next section.
Rakefile
Rakefile defines build targets for Rake, Ruby’s build language. You do need Ruby knowledge to write your own build targets. Good news is that if you follow the conventions in the sample project (agiletravel-ui-tests), you can make it work for your project with very little changes.
-
Copy Rakefile to your project
-
Copy buildwise.rake and buildwise_rspec_formatter.rb to your project
This file handles communication to the BuildWise server, you don’t need to modify it.
-
Change the project identifier in Rakefile
Edit the line to set your project identifier.
BUILDWISE_QUICK_PROJECT_ID = "agiletravel-quick-build-rspec"
-
Change the test script files to be included for execution
def specs_for_quick_build
  # list test files to be run in a quick build
  [
    "#{$test_dir}/spec/login_spec.rb",
    "#{$test_dir}/spec/flight_spec.rb",
    "#{$test_dir}/spec/payment_spec.rb",
  ]
end
Just follow the pattern to change to your test script files.
That is it. Be sure to add and commit and push up to the Git repository.
In case your wonder what dose the target “ci:ui_tests:quick” do, here is the definition.
desc "run quick tests from BuildWise"
task "ci:ui_tests:quick" => ["ci:setup:rspec"] do
  build_id = buildwise_start_build(:project_name => BUILDWISE_QUICK_PROJECT_ID,
  :working_dir => File.expand_path(File.dirname(__FILE__)),
  :ui_test_dir => ["."],
  :excluded => excluded_spec_files
  )
  puts "[Rake] new build id =>|#{build_id}|"
  begin
    FileUtils.rm_rf("spec/reports") if File.exist?("spec/reports")
    Rake::Task["ui_tests:quick"].invoke
  ensure
    puts "Finished: Notify build status"
    sleep 2 # wait a couple of seconds to finish writing last test results xml file out
    puts "[Rake] finish the build"
    buildwise_finish_build(build_id)
  end
end
The above task set up test execution for BuildWise then invoke another task “ui_tests:quick”, which is a typical RSpec execution task.
desc "run all tests in this folder"
RSpec::Core::RakeTask.new("ui_tests:quick") do |t|
  specs_to_be_executed = specs_for_quick_build
  specs_to_be_executed -= excluded_spec_files

  specs_to_be_executed.uniq!
  specs_to_be_executed.each do |a_test|
    specs_to_be_executed.delete(a_test) unless File.exist?(a_test)
  end

  puts "[INFO] Tests in order => #{specs_to_be_executed.collect {|x| File.basename(x)}.inspect}"
  t.pattern = [] # disable default rspec 3.5 pattern spec/\*\*\{,/\*/\*\*\}/\*_spec.rb
  buildwise_formatter =  File.join(File.dirname(__FILE__), "buildwise_rspec_formatter.rb")
  t.rspec_opts = "--require #{buildwise_formatter} #{specs_to_be_executed.join(' ')} --order defined"
end
Clone an existing project
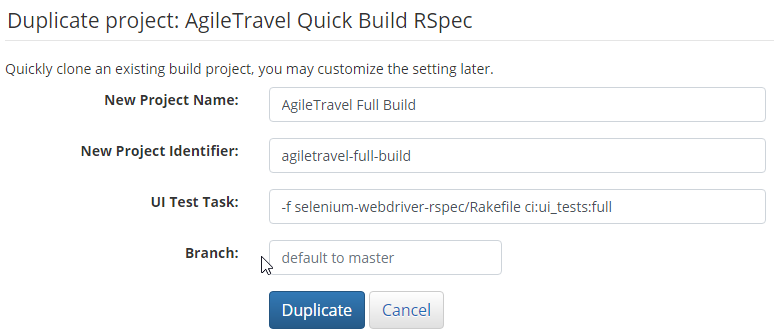
Quite often, we want to run tests for the same test project (from the same Git repository) but in different configurations, such as smoke tests, full regression tests, tests-for-dev-server, …, etc. A quicker way is to clone an existing project in BuildWise.

Just change the Name, Identifier and UI Test Task to clone one. All other settings will be copied over. If necessary, customize the setting after this new project is created.
© 2006 - 2026 AgileWay Pty Ltd. Powered by SiteWise CMS